क्रिएटिव फ़ाइल
Watercolor Flower Tutorial: A Beginner’s Guide to Vibrant Florals
Floral subjects are a perennial favorite for artists of all levels. Their forms can be captured in numerous ways, ranging from atmospheric, loose strokes to meticulous botanical renderings. The transparent nature of watercolor is uniquely suited to capturing the delicate essence of petals, making flowers an ideal subject for those just starting their artistic journey.
Winifred Mae Kingsley
निर्माता
फ़ाइल नोट
नीचे पूरा ट्यूटोरियल या लेख पढ़ें।
मॉड्यूल
डिजिटल कला
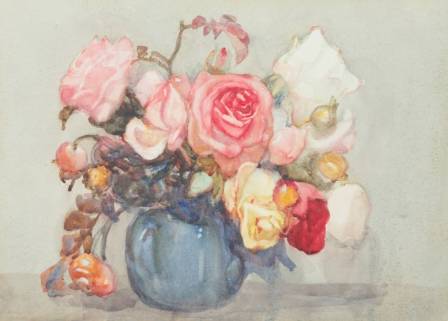
Floral subjects are a perennial favorite for artists of all levels. Their forms can be captured in numerous ways, ranging from atmospheric, loose strokes to meticulous botanical renderings. The transparent nature of watercolor is uniquely suited to capturing the delicate essence of petals, making flowers an ideal subject for those just starting their artistic journey.
This tutorial provides a clear, step-by-step approach to painting a floral composition. You will learn how to protect your subjects using masking techniques, build a lush background, and add fine details to bring your work to life. Watercolor mastery is built on patience and consistent practice, so focus on enjoying the creative process as you learn.
Core Watercolor Techniques Explained
By following this project, you will gain hands-on experience with several fundamental methods used in professional watercolor painting:
-
Reserving Whites: This involves keeping the white of the paper untouched to serve as the brightest highlights. We will use masking fluid—a liquid latex—to cover the flowers while painting the background.
-
Wet-on-Wet: Applying wet paint onto a damp surface allows colors to bleed and blend naturally, creating soft, atmospheric effects.
-
Glazing: The process of layering a fresh wash of paint over a layer that has already dried. This increases color depth and richness.
-
Texture Effects: Techniques like "scumbling" (haphazard brushstrokes) and "water splatters" add organic variety and visual interest to the vegetation.
Composition, Color, and Values
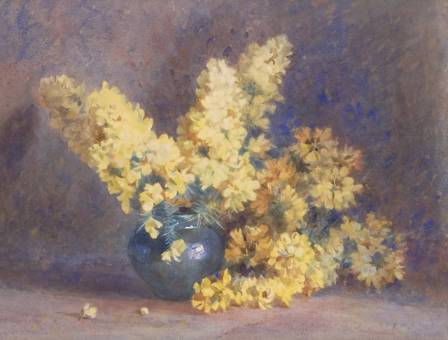
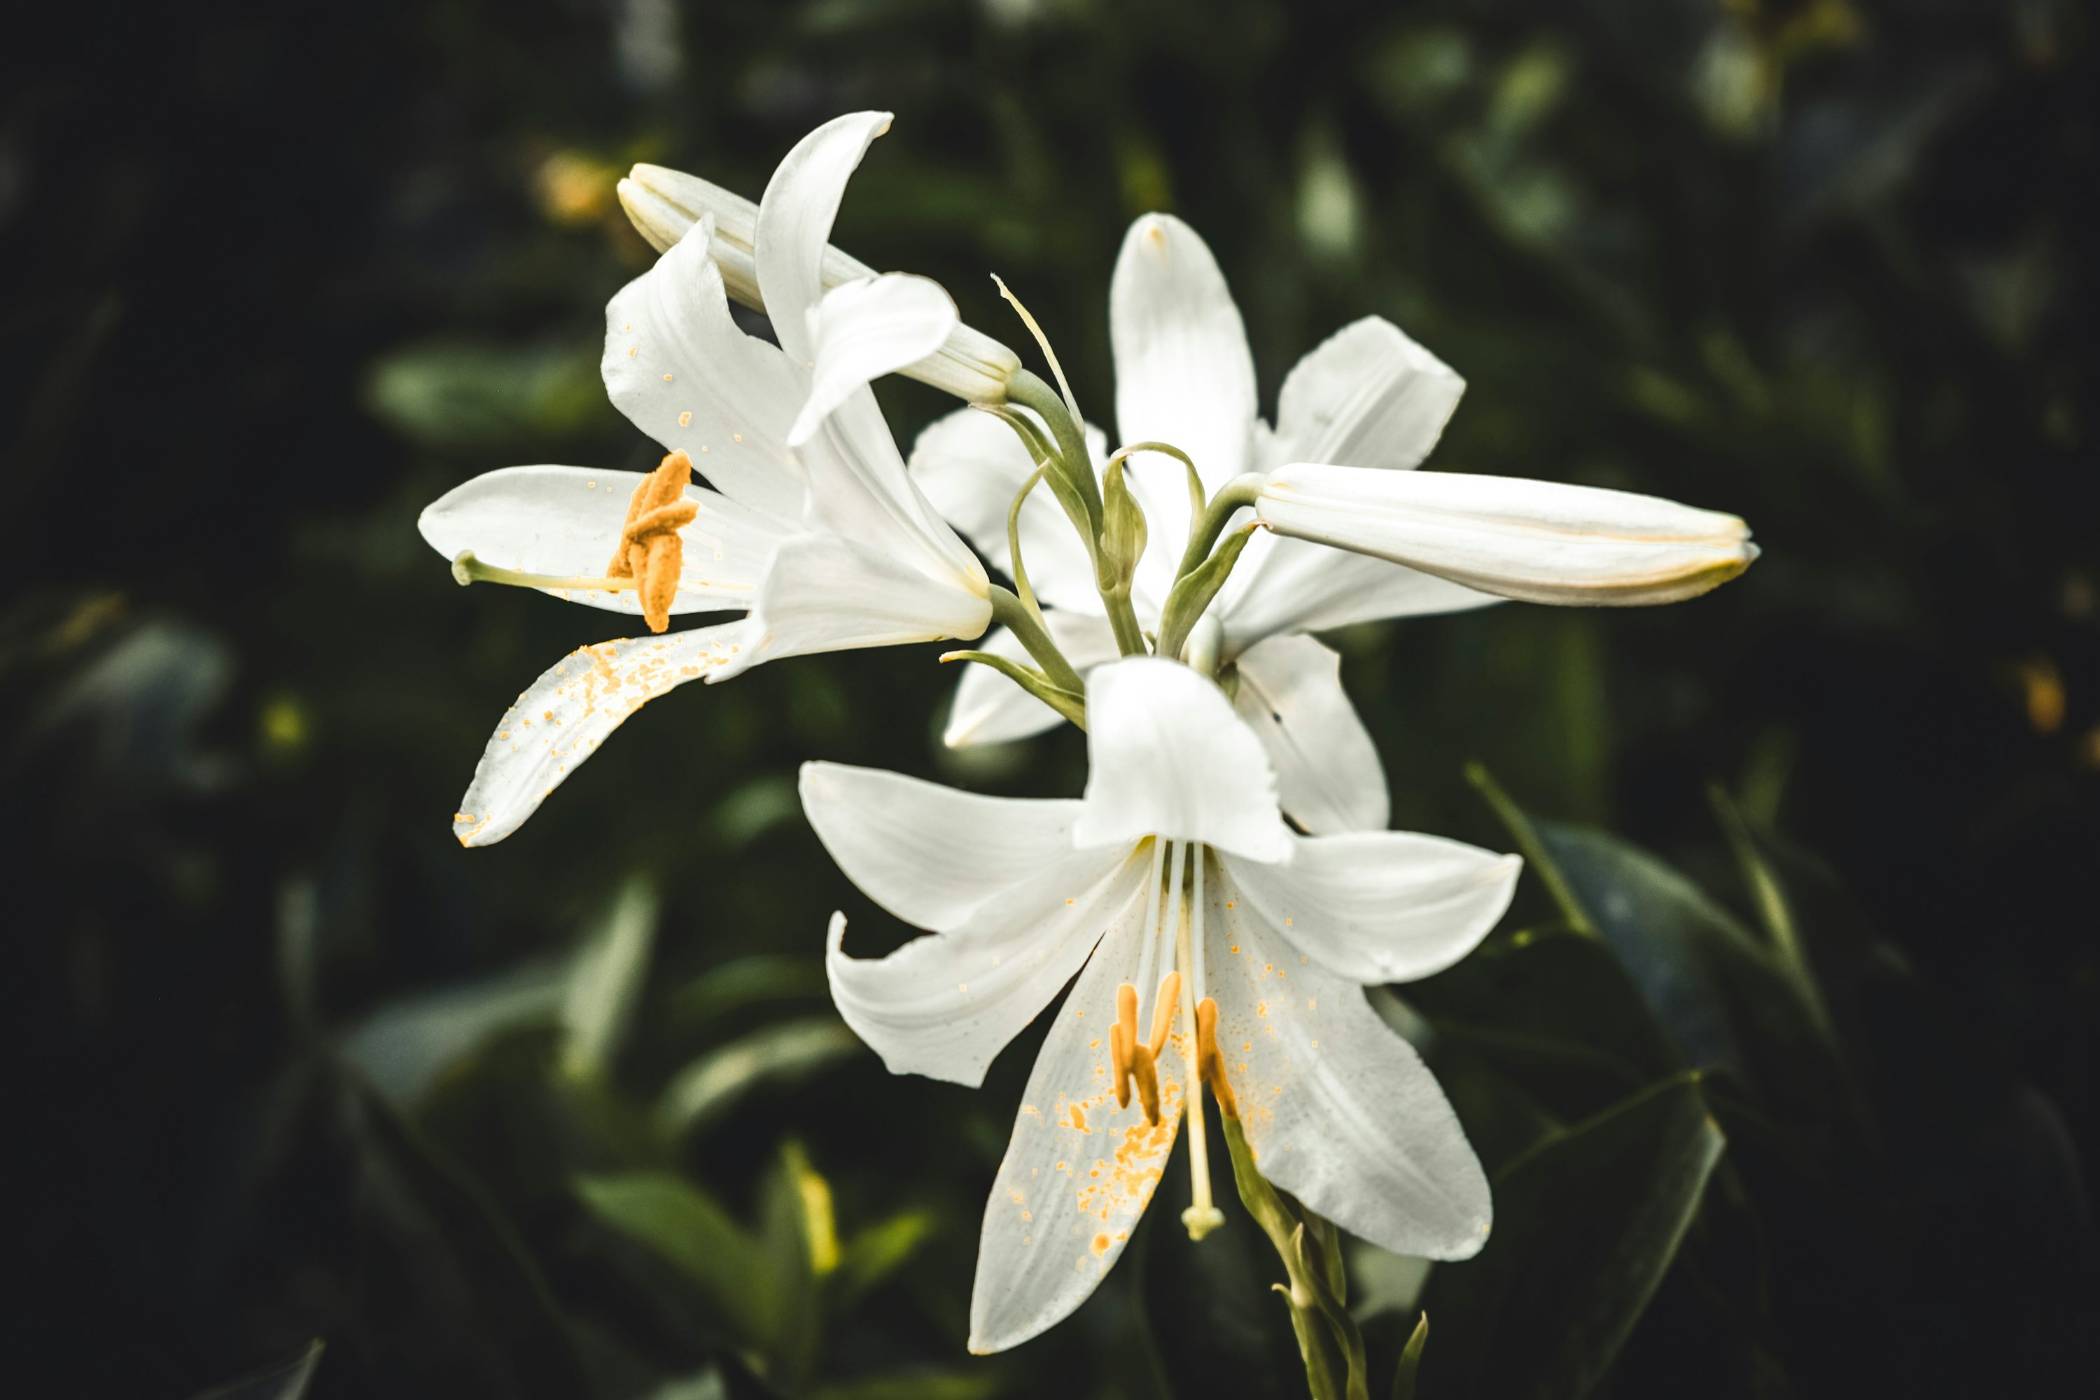
The focus of this painting is a cluster of white daisies. To make them stand out, we utilize contrasting values. "Value" refers to the range from light to dark. By placing the bright white petals against a deep, dark background, the viewer's eye is immediately drawn to the flowers. Furthermore, painting the daisies with sharp, detailed edges against a loose, blurred background mimics the "depth of field" effect found in photography.
The color palette for this project relies on analogous colors—hues that sit next to each other on the color wheel, such as greens, yellows, and oranges. This choice creates a harmonious, soothing feel often found in nature.
Step-by-Step Instructions
1. Preparation and Materials
Set up your workspace in a quiet area with natural light. To achieve the best results, use 100% cotton, 300 gsm (140 lb) cold-pressed watercolor paper. You will also need:
-
Masking Fluid: To protect the petals.
-
Brushes: A medium round brush (size 8) and a small detail brush (size 2).
-
Water Jars: Two jars—one for rinsing dirty brushes and one for clean water.
-
Board and Tape: A rigid board and low-tack tape to keep the paper flat.
2. Sketching and Masking
Transfer your floral outline onto the paper using a light pencil. Once your sketch is ready, apply masking fluid to all the flower petals using an old brush. Leave the centers of the flowers unmasked. Allow the fluid to dry completely until it feels tacky but solid.
3. The First Background Layer
Using the wet-on-wet technique, dampen the background area with clear water. Quickly "charge" the surface with light and medium greens, letting them blend. While the paper is still wet, flick a few drops of clean water from your brush onto the wash to create textured splatters.
4. Painting the Flower Centers
While the background dries, use a warm yellow to fill the flower centers. Leave a tiny sliver of white paper on the top-right of each center to represent a sunlight highlight.
5. Glazing the Dark Background
Once the first layer is bone-dry, use a dark green mix to "scumble" a second layer over the background. This wet-on-dry technique creates a "glaze" that adds depth. Focus the darkest tones at the bottom of the composition to anchor the flowers.
6. Removing Masking and Adding Petal Detail
Once the background is dry, gently rub away the masking fluid using a kneaded eraser to reveal the crisp white paper. To give the petals dimension, mix a very diluted, pale grey. Apply this to the edges of the petals and in areas where they overlap to create soft shadows.
7. Final Touches
Add a touch of orange shading to one side of the yellow flower centers to make them look three-dimensional. Once everything is dry, carefully remove the tape from your board.
By completing these steps, you have moved from a simple sketch to a multi-layered painting, mastering the balance between light and shadow that defines the beauty of watercolor art.
संबंधित फ़ाइलें

Blue Holes: The Ancient Underwater Sinkholes of the Sea
AUTH: Iris Cooper
Most Famous Bird Paintings
AUTH: Quinn Harper

Top 10 Authentic Chinese Breakfasts
AUTH: Gideon Locke

Top 10 Safest Cars of 2023: A Glimpse into Cutting-Edge Safety
AUTH: Amelia Claire

Twenty of the Most Adorable Creatures on Earth From Fluffy Rodents to Charming Waddling Birds
AUTH: Douglas Mia
कुमुदनी का फूल अर्थ: प्रतीकवाद, रंग, और महत्व
AUTH: लक्ष्य