← मुख्य पन्ना3 मिनट का पाठ
क्रिएटिव फ़ाइल
How to Create Needle-Felted Animals: A Basic Guide
If you’ve ever wondered what needle-felted animals have in common with dollhouses and miniatures, the answer is a lot! Tiny needle-felted creatures are an essential part of the miniature world and are absolutely captivating to see.
M
Matthew
निर्माता
फ़ाइल नोट
नीचे पूरा ट्यूटोरियल या लेख पढ़ें।
मॉड्यूल
डिजिटल कला
If you’ve ever wondered what needle-felted animals have in common with dollhouses and miniatures, the answer is a lot! Tiny needle-felted creatures are an essential part of the miniature world and are absolutely captivating to see.
Every now and then, on social media or other platforms, people share their stunning miniature animals—tiny dogs, cats, birds—and I’m amazed by them every single time! Today, I’ll walk you through the basics of creating needle-felted animals.
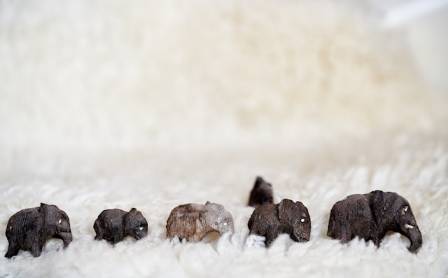
Materials Needed for Needle-Felted Animals
To begin crafting needle-felted animals, here’s a list of essential materials:
Felting needles (industrial grade, with size 8 being ideal for faster work depending on the surface)
Needle storage cape to safely store your needles
A foam base (around 5 cm thick works well; you can find foam in furniture stores)
Aluminum wire (easy to manipulate with your hands)
Chisels, pliers, and scissors for finishing touches
Small eyes and thread for attaching them
A punch tool to create holes for the eyes
Wool (Corriedale wool is the best choice for felting)
Getting Started with Needle-Felting Animals
Decide on Your Animal and Study Its Features
Before you start, it’s important to decide what animal you want to make. For example, if you’re creating a husky dog, take the time to study its unique characteristics, like its fur pattern, body shape, and facial features.
Understanding the specific features of the animal is essential. Every breed has distinct characteristics—especially the bone structure and muscles—so pay close attention to these details. This is particularly important if you are crafting a quadruped animal, as the process differs from making human figures.
Study the Animal’s Anatomy
It’s crucial to study the animal’s anatomy, including its rib cage, body size, shoulder height, and ears. You can choose to create a highly realistic version or a more stylized, caricatured version of the animal.
By carefully studying the animal, you can determine the basic structure and foundation you’ll need for your felting project. This preparation is key to achieving a good result.
Wool Selection and Felting Techniques
Wool is the primary material used for needle-felting, and it’s been utilized for crafts for centuries. Sheep are particularly valuable for their wool, which is often used in the textile industry. After the lanolin (a natural oil) is removed from the wool, it’s ready to be spun and crafted.
While Merino wool is often used for embroidery, it’s not the best choice for needle-felting. Corriedale wool, on the other hand, is ideal because it has the right texture and durability for the process. Other materials like hemp, flax, and bamboo are used in the industry but aren’t as suitable for felting due to their fragility.
If you’d like to learn more about the different types of wool, there are courses available that explain them in detail.
Step 1: Preparing the Wool
Take the wool with your weaker hand (if you’re right-handed, use your left). Use your dominant hand to pull on the tip of the wool, creating individual strands. Be careful not to cut the wool with scissors—just gently pull it apart with your fingers.
Step 2: Applying the Felting Technique
Once you’ve prepared the wool, it’s time to start felting. Corriedale wool is recommended for this technique. Begin by layering one piece of wool vertically, then place another layer horizontally, creating a cross-pattern between the two layers.
Hold the wool securely between your fingers, so it doesn’t shift before you start felting. Begin felting one half of your creation. As you felt, ensure that the needle stays straight and always hold it by the round part to avoid breakage.
Continue felting and, if needed, lift the wool from the foam base as you work. As you near the end of the felting process, there may be excess wool around the edges. Simply fold these remnants back into the piece to maintain a smooth surface.
With these basic techniques, you can begin crafting detailed and realistic needle-felted animals.
संबंधित फ़ाइलें

// hi
एक कार को स्पोर्ट्स कार क्या बनाता है?
AUTH: रमेश
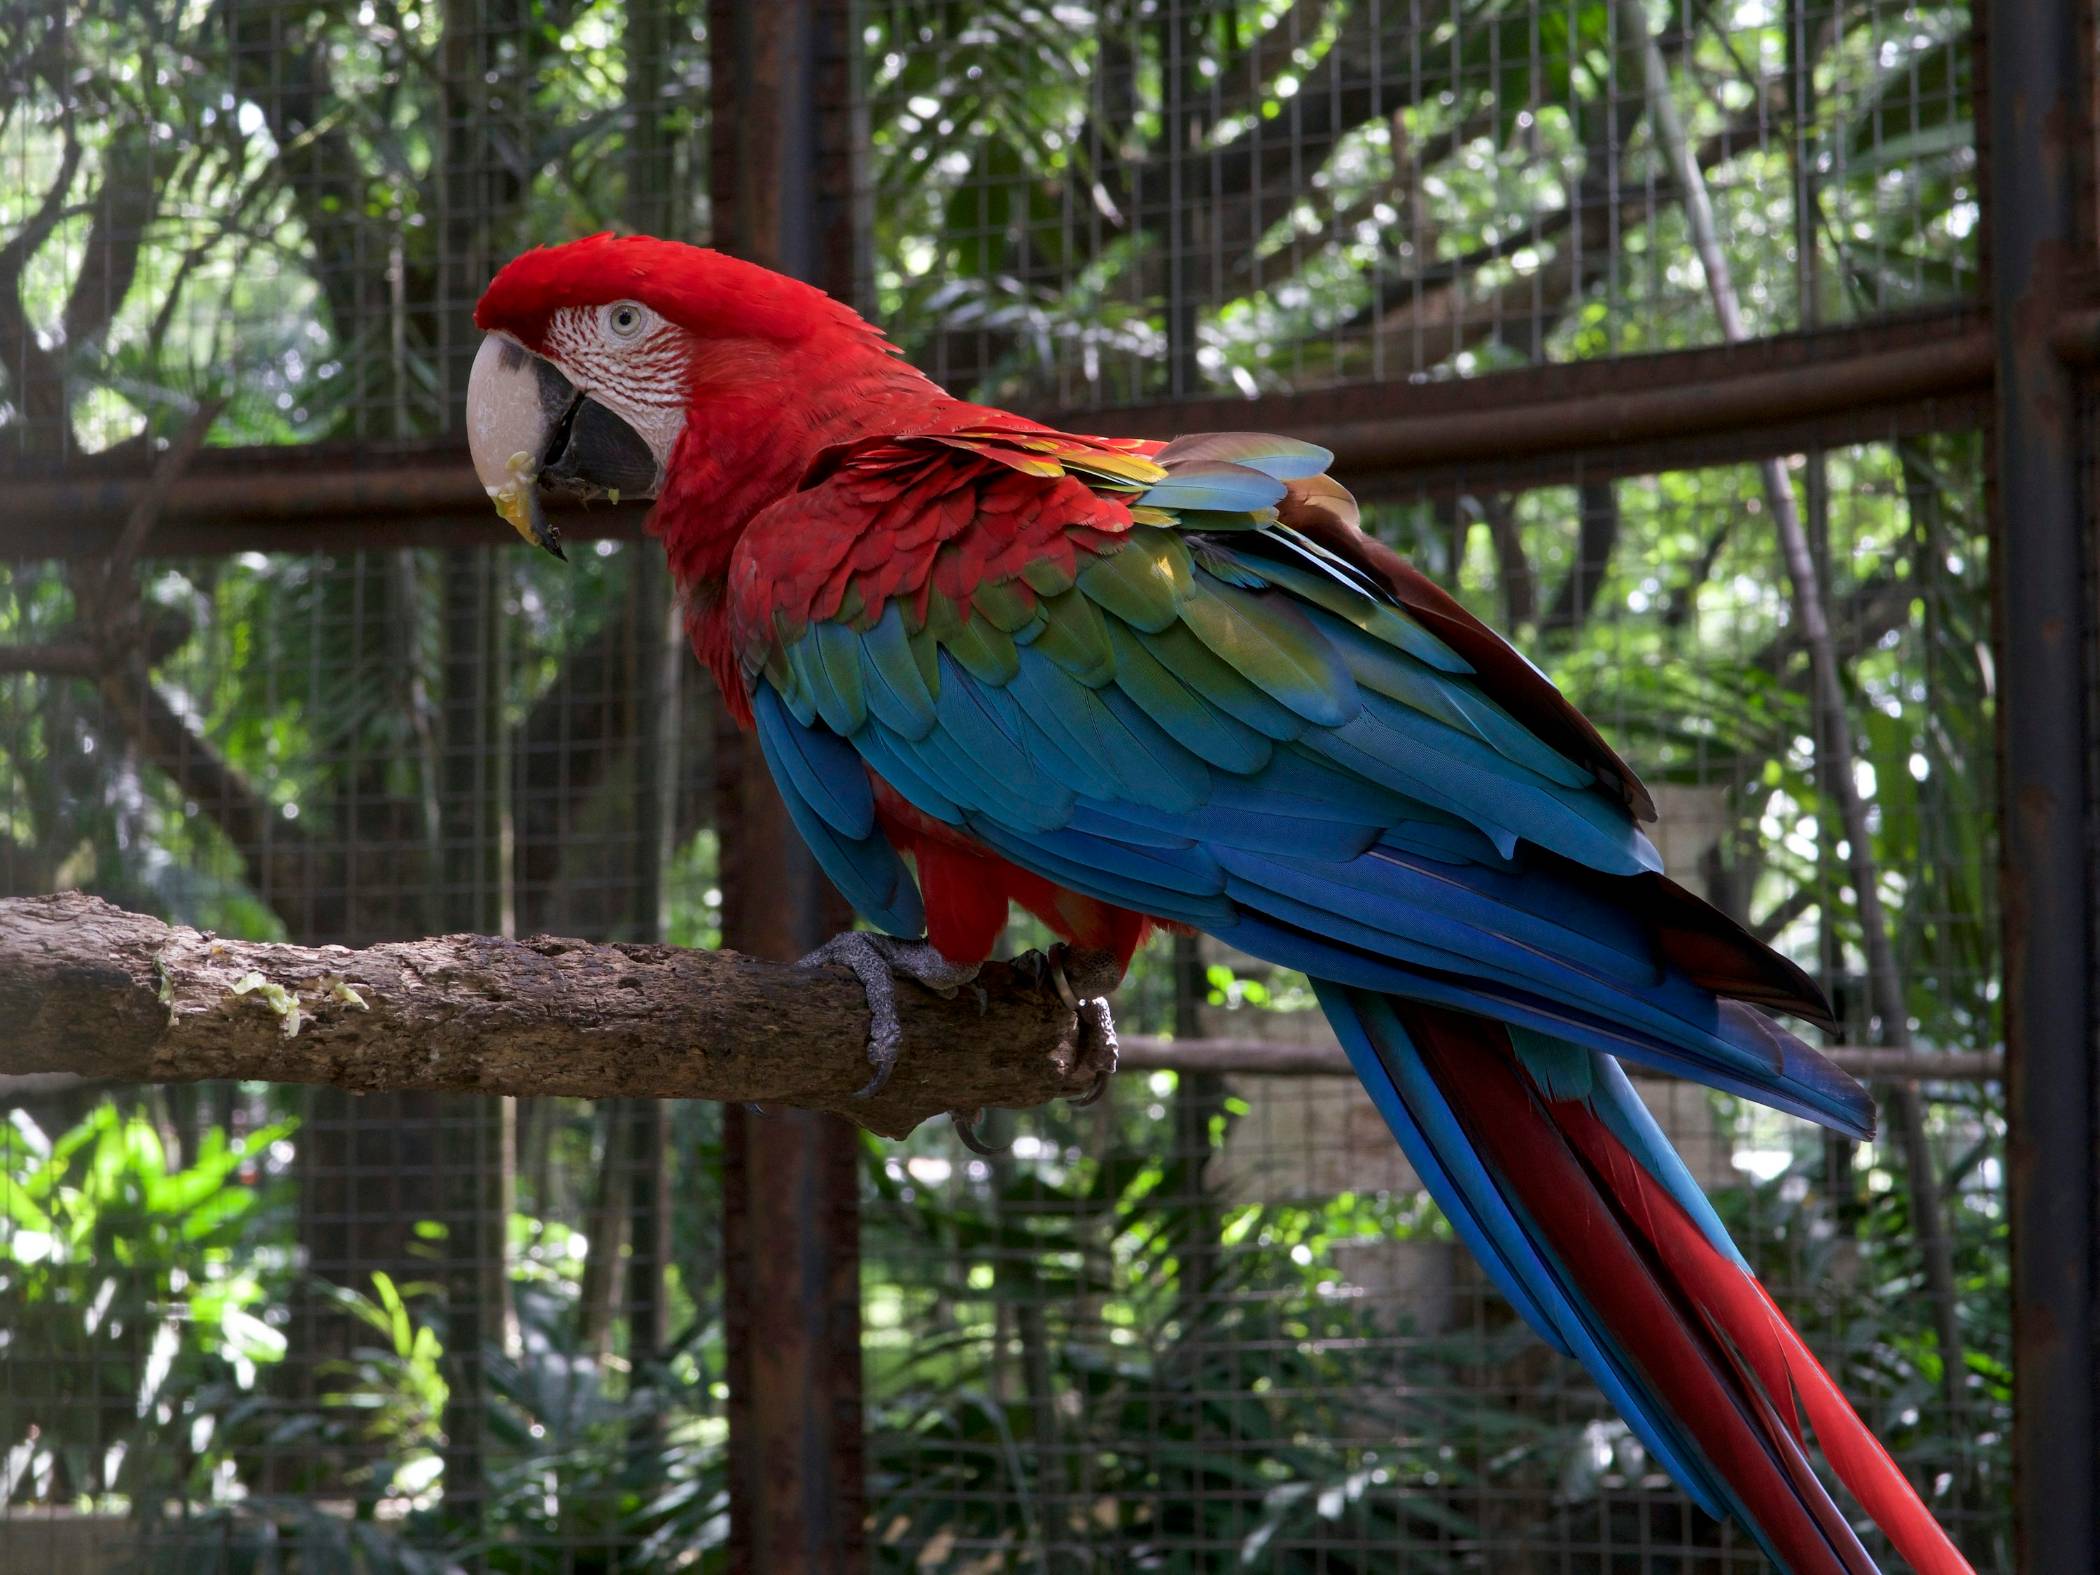
// hi
दुनिया के शीर्ष 7 सबसे रंगीन पक्षी
AUTH: वंदना

// hi
नए रॉकेट्स अंतरिक्ष तक पहुंचने के लिए एक अवसर की खिड़की का प्रतिनिधित्व करते हैं
AUTH: काव्या

// hi
पृथ्वी से मिल्की वे कैसे देखें: सभी जानकारी
AUTH: एशा
// en
How to Create a Statement Centerpiece with a Vase: Elevate Your Home Decor with Expert Styling Tips
AUTH: Amelia Clark

// en
Personality-Driven Perfumery: The Four Elements Fragrance Test
AUTH: Percival Lockwood